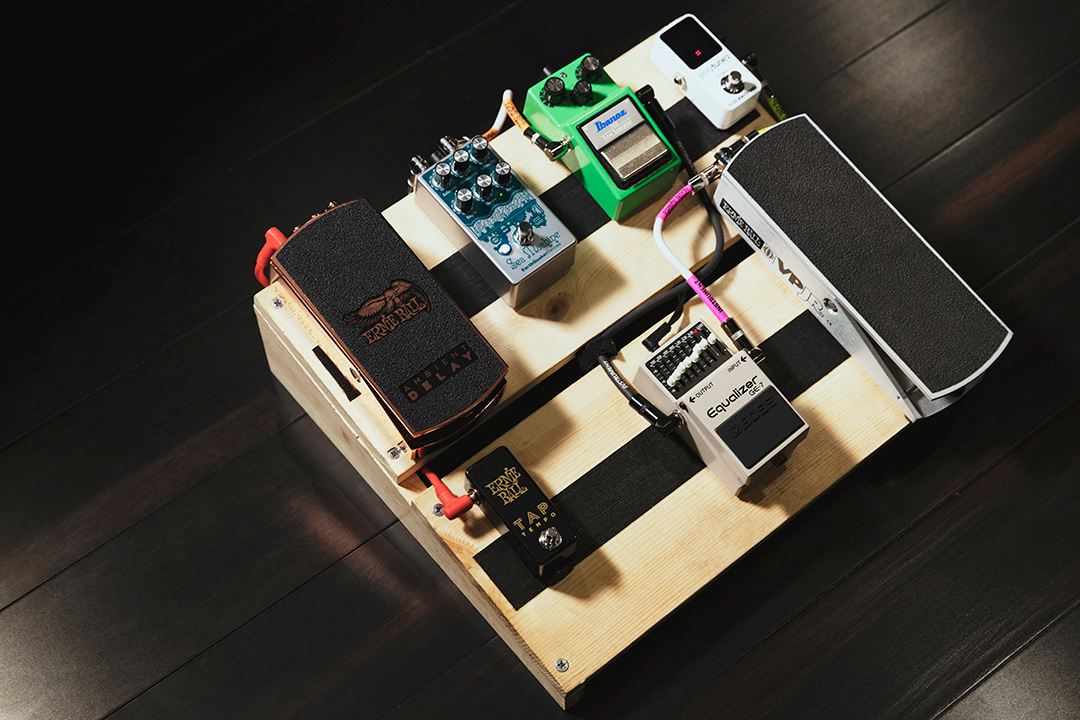
Pedalboards are a must-have for many guitar players. They can fatten up your tone, provide mind-bending effects, help take some of the load off of your duties as a guitarist, and countless other uses. The process of setting up a board can be confusing and frustrating, which is why we want to help demystify the process once and for all.
First, you want to identify what pedals you need, and what is the best order to set them up. For the purposes of this article, we’re just going to assume you’ll get set up with the basic food groups of effects: a tuner, a compressor, reverb, delay (equipped with an external tap tempo), compressor, wah-wah, and fuzz. Of course, your mileage may vary based on your needs and personal tastes. These effects will all be wired together with instrument patch cables.

It is also wise to consider what platform you want to house your pedalboard on. Many companies make the actual boards meant to house pedals, and they’re all essentially good products. One product that is often recommended for guitarists new to effects setups is a Pedal Train Jr., which is roughly half the size of a standard Pedal Train board. Though small, it can still house a hefty amount of effects while still remaining portable.
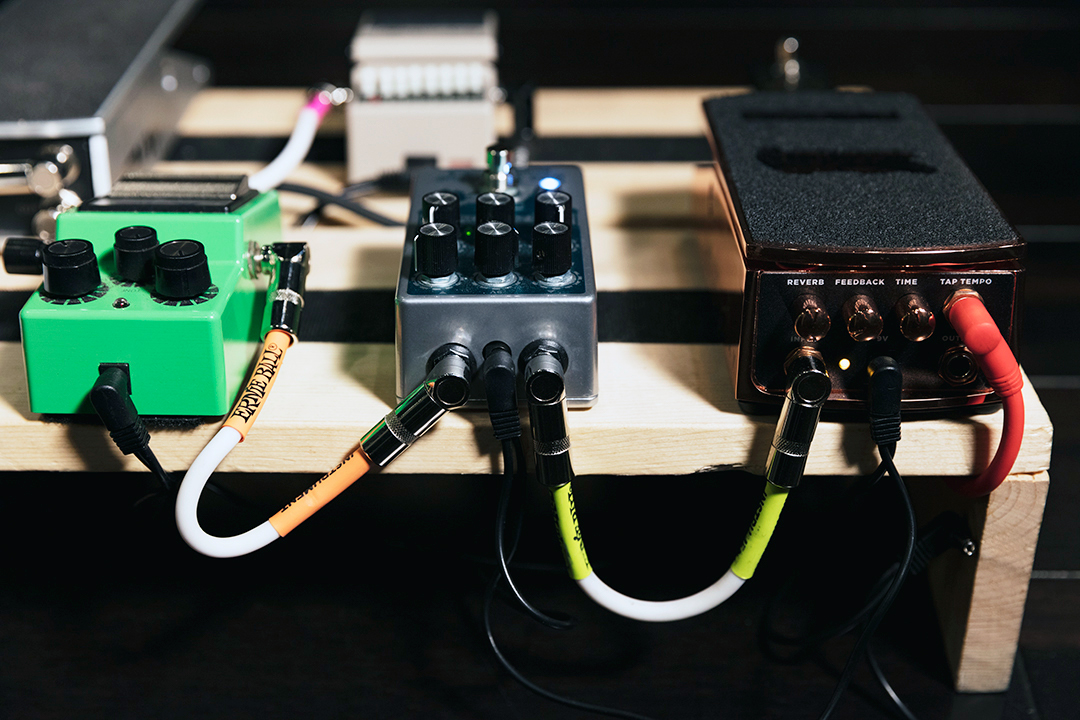
So you’ve got your pedals, you’ve got your board, now you’ll want to think about how you’re going to get all these pedals to connect to each other. We recommend Ernie Ball Instrument cables. Our patch cables are ultra-durable, flexible, and dual-shielded for as little noise as possible. All the things you need when considering a patch cable for your board.
THE POWER IS YOURS
The last thing to think about before you get started wiring is what power source you want to use. Most, if not all, pedals have a battery housing for a 9V battery and a jack for a 9V AC adapter. You can power your effects through either energy source. There are pros and cons to both ways of powering your effects. For example, 9V batteries can run out at the worst time, and switching them on stage is a major pain. Using a power station like an MXR DC Brick, or a Voodoo Labs Pedal Power, or whatever external power source, have no chance of losing power like batteries, but are more expensive and take up space. Figuring out how to set the AC adapter cables through your board can be another wrinkle in how you will set up your board. Use your judgment to see what works best for you. Many of the on-board power stations can be mounted to the underside of your board to help save space.
SIGNAL CHAIN OVERVIEW
Now that we can get started wiring the board you can just set it up however you want, right? Well, in actuality there is a certain order for setting your effects up that will not only get you the best use out of each pedal but putting pedals in the improper order can actually make your effects ineffective. For instance, you wouldn’t want to put your heavy distortion pedal before your tuner in the chain. The tuner just wouldn’t work as effectively if it’s trying to identify a distorted pitch. Keep in mind that these are suggestions, there are no hard rules that need to be followed, but this order can help make everything sound better and reduce unwanted noise.
First thing’s first: The tuner. Your playing starts with your guitar, and the first thing in your signal path should be the tuner. This way the tuner is not going to be impeded by other effects, regardless of whether or not your effect is equipped with True Bypass or not. Getting the tuner to hear your guitar before anything else is the best way to make sure you’ll always be able to tune reliably. One thing to take note of that may not always be apparent is which plug does what. Some pedals label their jacks as “input” or “output” some label them as “instrument” or “amplifier”, so what cable goes where? Well, the simplest rule of thumb to consider is that INput goes to INstrument, or “IN goes to IN” and it should all be clear from there.
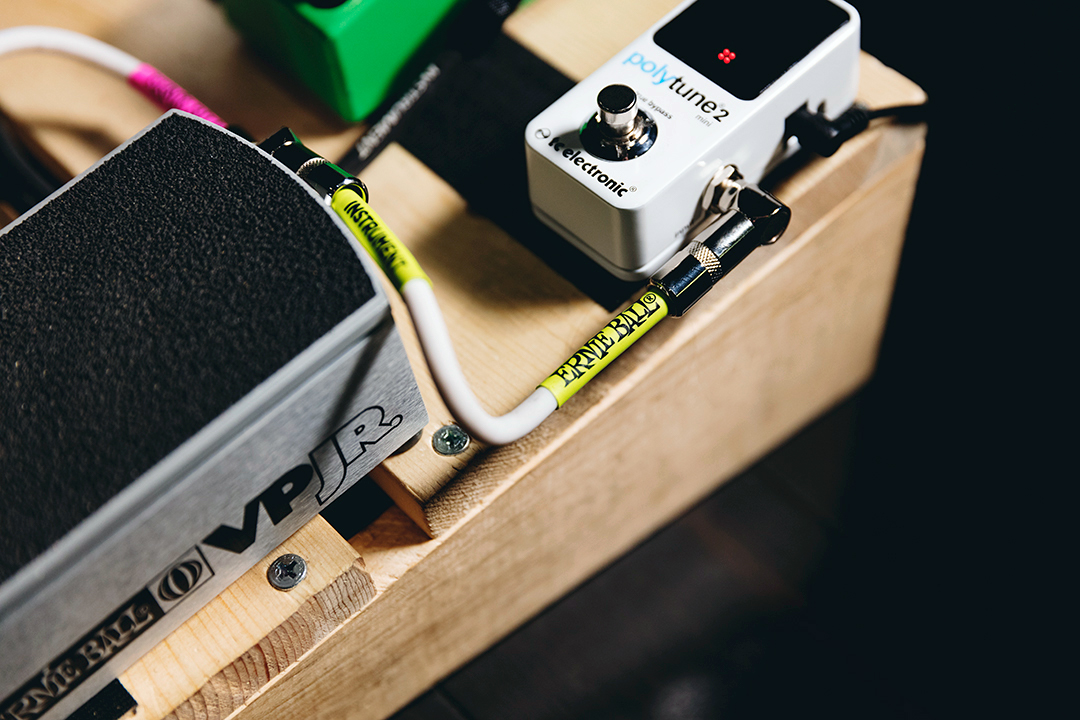
Let’s look at the rest of the chain. Pedals that filter or modulate your guitar’s tone should be first in line. This includes wah pedals, phasers, envelope filters, or auto-wahs. These effects work their best when they are modulating a clean signal. After this point, you’ll want to hook up any effect that boosts your instrument’s volume such as compressors, EQs, or boosts. These effects will make quieter tones louder and more present when engaged, doing so in this order lets your wah pedal modulate your guitar’s tone, and then the compressor equalizes the volume of your tones.
Next in line should be your overdrive, distortion, or fuzz effects. These will benefit from the boosted tones you have going on from the compressor/EQ and will amplify them further. The reason you don’t want these in the reverse order is a compressor will filter as well as boost, and doing so with a distorted signal will produce unwanted noise or poor tone quality.
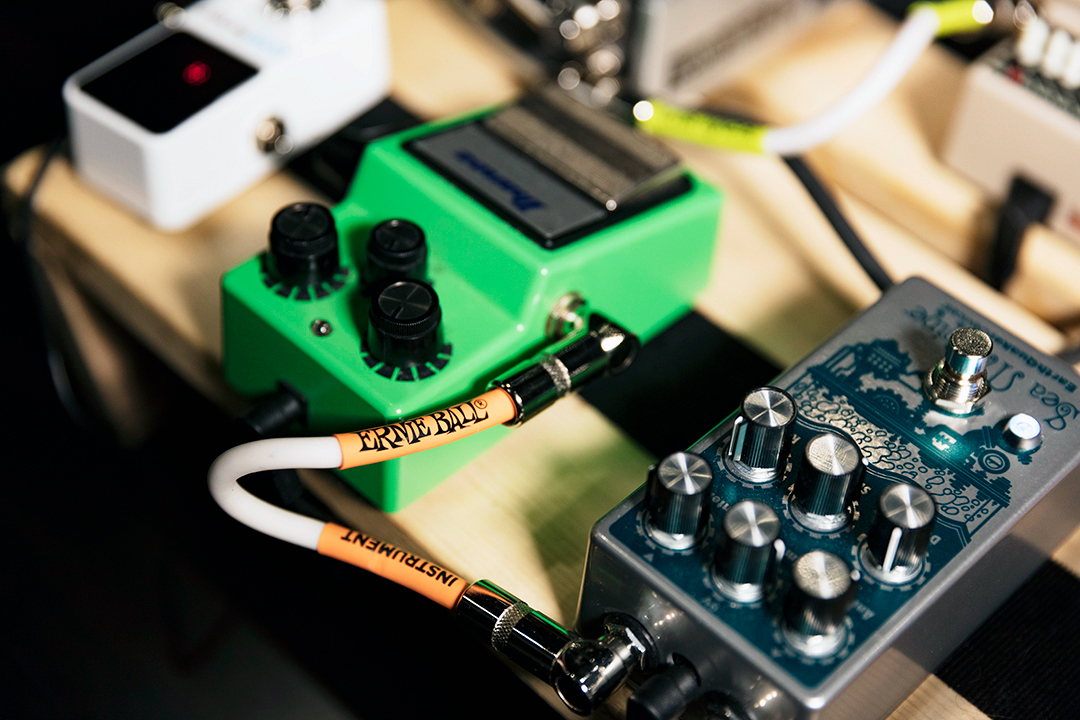
The last few steps of a proper signal path are pitch shifting and modulation pedals. This would include octave or harmonizer pedals, and phasers, tremolo, flangers, chorus, reverb, etc. These can be put in an order of your choosing since, usually, a given board can have any number of these types of effects.
The very last thing to know is that delay pedals go at the very end of a chain. Thinking sonically, if an amp is producing noise it will create its overdriven sounds, reverb, tremolo, all before the sound actually leaves the amp. Once they’ve left the echoes will bounce off the walls and come back to the amp, this is the same principle as using any time-based effects at the end of your signal path.
If you use a volume pedal, those can go at the very beginning, or just before your delay. If you’re thinking of utilizing your amps signal in and out, go right ahead, delays and reverbs benefit greatly from using signal loops on amps.
